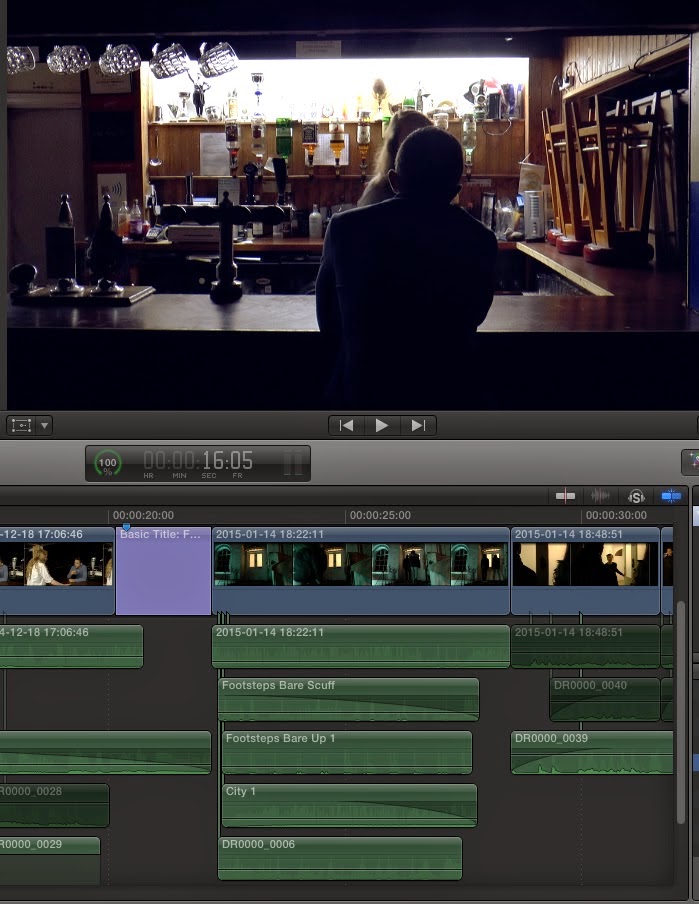
After placing our shots onto the timeline we quickly realised that some of the shots did not particularly match with the style and tone of our trailer, especially in terms of colour and so I decided to colour match the shots that did not work with the shots we felt did, for example the scene in the friends house, matched with the intimate blue colouring of the bar sequence.
(see shots below for link between colour of bar sequence and friends house)
I decided to play around with the different colourings in each shot in the first place in order to give us the slick, 'welcome to the Punch' style we wanted from the beginning of the process. Below you can see how I colour matched the first shot with the second one in order to give it the slicker, more stylised image we wanted.
The final shot of act 2, sees the car leaving the car park, just after seeing the main antagonist stepping into it. I decided to colour match with the first shot in act 2 and then fiddle around with the colour board in order to create the desired effect.
Below are just a few more example of me playing around with the different colouring in some of the shots in act 2.
We also had to re-shoot the interrogation scene because the lighting again, did not fit with the overall style of our trailer. In truth, the original colouring was too 'boring' and was not as effective as the re-shoot, which made use of much darker, moodier style lighting that we felt represented the moment as well as the characters situation better at that present time in the narrative.
Audience feedback - our audience feedback on style/tone was particularly complementary and this was because it was something we felt was necessary to the success of our film overall. We decided to make each shot fit next to each other by using the colour/matching tool as aforementioned.
MT


No comments:
Post a Comment